Getting started
This guide takes you from the first launch to your first conversation. You need the installed app and a server address — or you can create your own server directly in Monky.
1. Create or import your identity
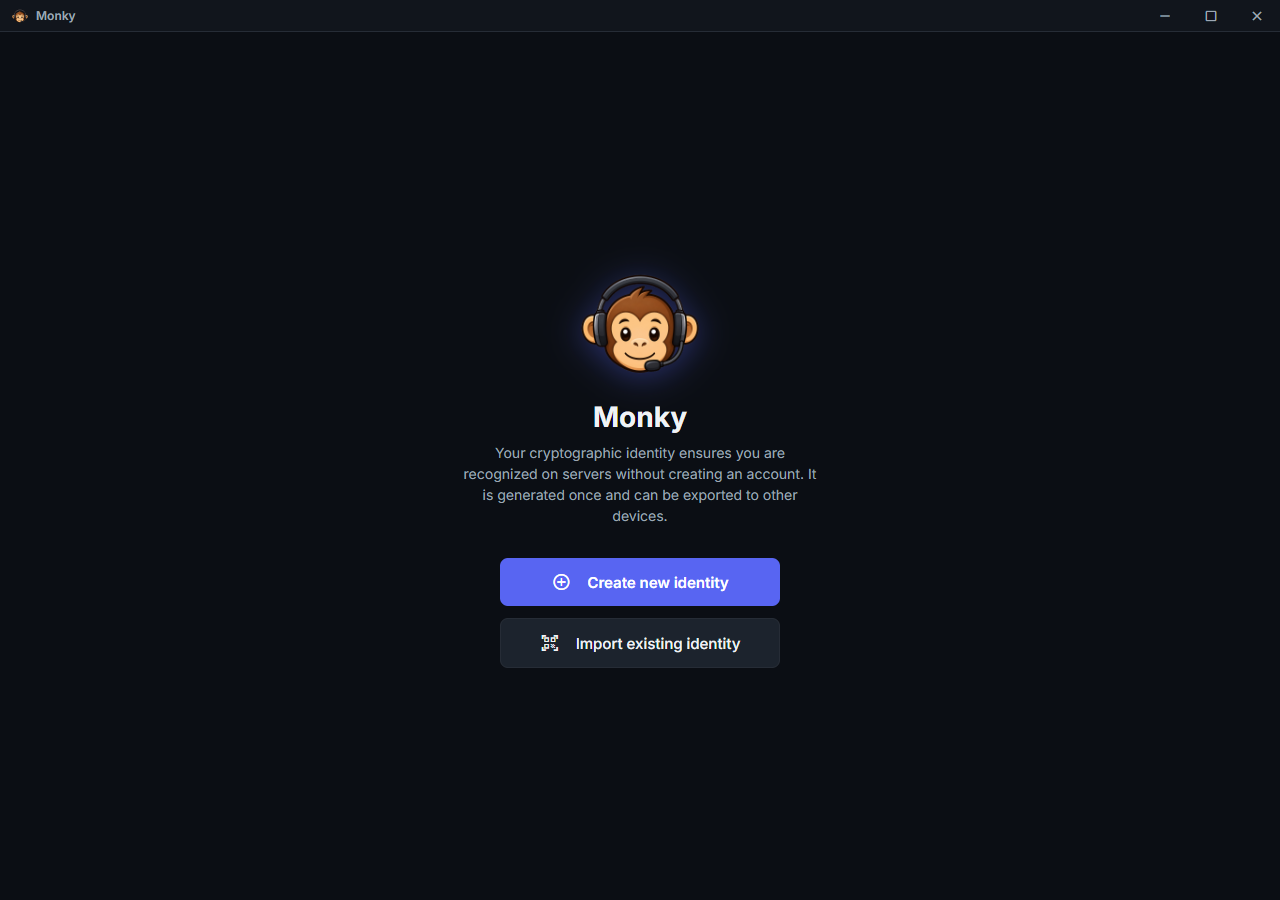
On first launch, choose Create new identity. If you already use Monky on another computer and want to keep the same account on your servers, choose Import existing identity and use the backup exported from that device.
Next, enter your nickname and optionally choose an avatar. This profile is global: it is used on every connected server and can be changed later under Settings → My Profile without creating a new account.
Keep an identity backup
Under Settings → My Profile, export your identity and choose a strong password. Keep the file somewhere safe; do not share it or its password. The public identity code is different from the backup that lets another device use your account. Without a backup, creating a new identity does not restore the previous one's access.
The password needs at least 8 characters, and Monky rejects common passwords such as 12345678 or password123: whoever gets the code can try to guess it with no limit on attempts. Codes exported by earlier versions (MONKY-ID:...) still open. New codes start with MONKY-ID2: and only open in an updated Monky: an earlier version of the app or of monky create reports them as an invalid identity code. Update the app and, on the server, run monky update before monky create.
2. Choose how to connect
After creating the identity and profile, Monky opens Home. It has the server rail on the left, the Direct messages list and the Friends page with Available, All and Pending tabs. If no server is saved yet, the + button on the rail is highlighted.
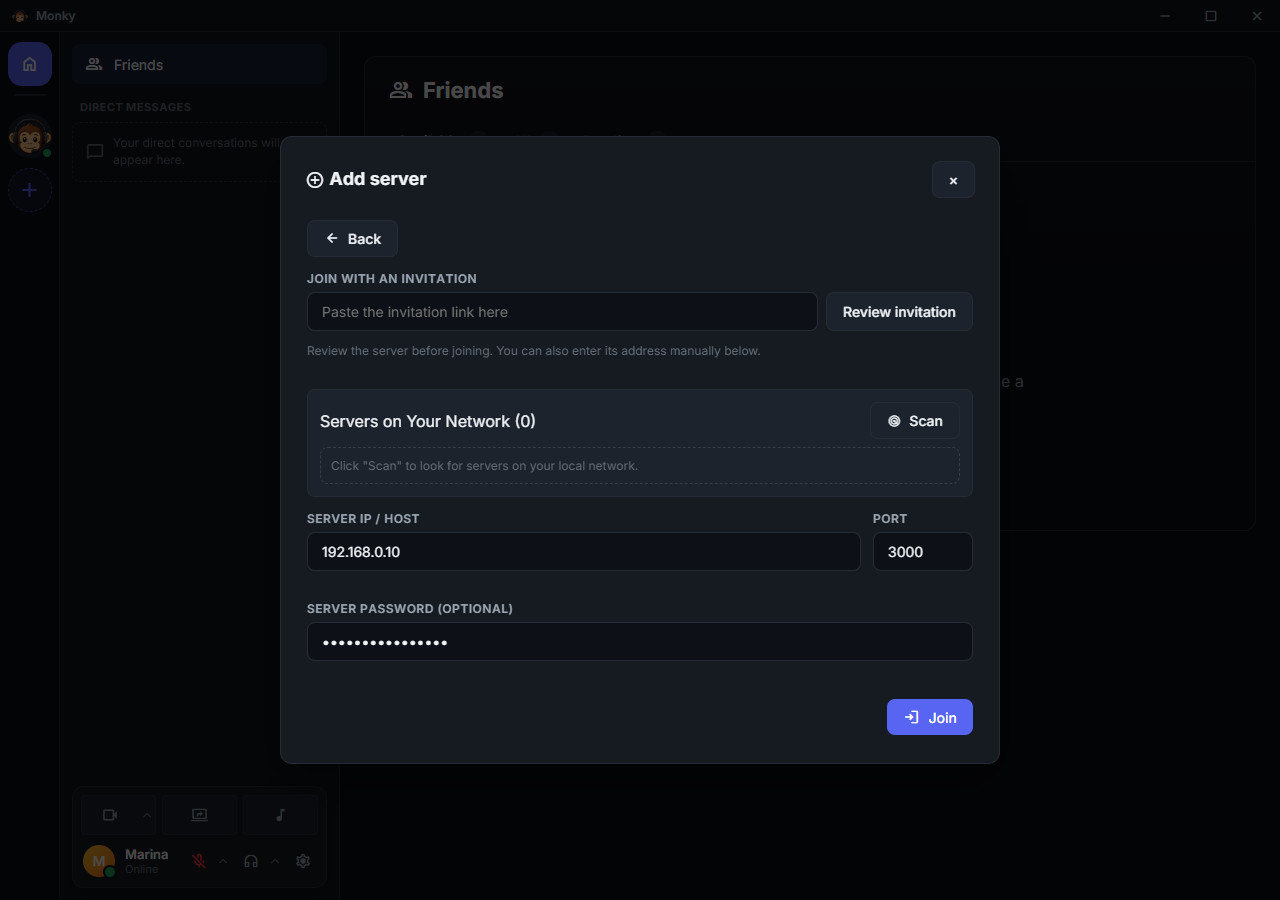
| Situation | Next step |
|---|---|
| Someone already hosts for the group | Join a server |
| I want to host on my computer | Create in the app |
| I need an always-on server | Host on a VPS |
Saved servers connect in the background by default to keep friend presence and direct messages working. Disable this under Settings → My Profile → Connections if you prefer manual connections. The server marked Join on startup still opens in the foreground.
3. Start a conversation
After connecting, choose a text channel to send a message. To start a call, click a voice channel: connecting to a server does not automatically enable your microphone.
The bottom controls let you mute your microphone, deafen and open settings. Check your input device in Voice and Video before the first call. Use headphones when testing microphone playback.
Continue with Chat, voice and media. To resolve a connection or audio failure, see Troubleshooting.
You do not need a bot to use Monky
Bots are optional. To use one already on your server, follow the bot guide; to program one, use the bot SDK documentation.